Introduction to Engine Bay Cleaning
Cleaning your car’s engine bay might seem daunting. But, it’s a crucial part of vehicle maintenance. A clean engine bay can help in early detection of leaks and wear. It ensures that your car runs as efficiently as possible. When you learn how to clean engine bay components, you’re taking proactive steps to protect your investment.
This introduction will explain why engine bay cleaning matters. We’ll discuss how a clean engine bay can prevent problems. We’ll cover what you’ll need to clean your engine bay. Throughout, we’ll ensure the ‘how to clean engine bay’ process is clear and straightforward. With simple guidelines, even beginners can achieve professional-level cleanliness in their vehicle’s engine bay.
Benefits of a Clean Engine Bay
Keeping the engine bay clean is more than just about looks. There are several benefits to maintaining a pristine engine bay. Here are a few key advantages:
- Early Problem Detection: A clean engine bay makes it easier to spot leaks, corrosion, and other issues. Catching these problems early can save you money and prevent larger mechanical failures.
- Optimal Performance: Dirt and grime can affect your engine’s performance. By keeping it clean, you ensure that everything runs smoothly. This can lead to better fuel efficiency and a more reliable ride.
- Longevity of Vehicle Parts: Regular cleaning can extend the life of engine components. It prevents the buildup of harmful substances that can cause damage over time.
- Improved Safety: A clean engine reduces the risk of fire. Oil and grease buildup can be a fire hazard if left unchecked.
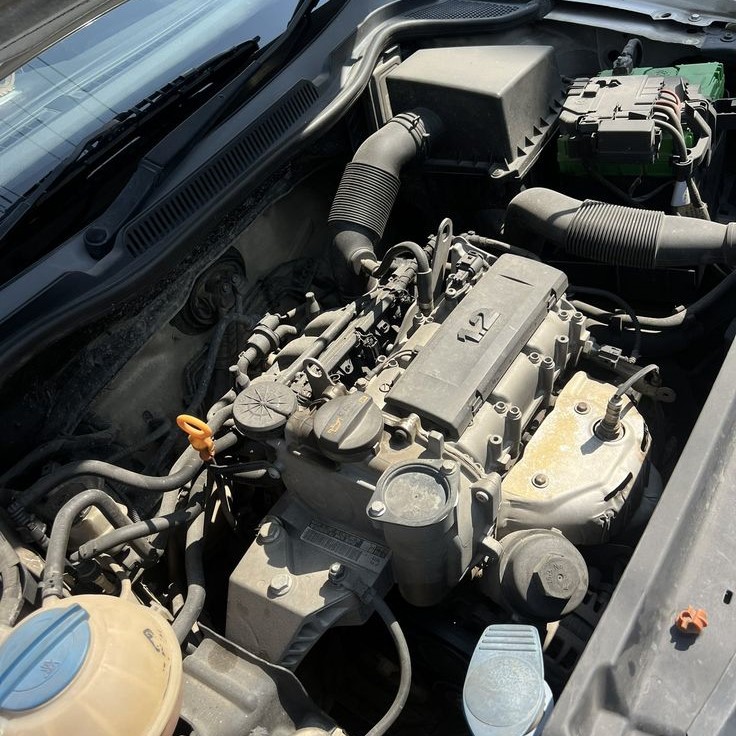
- Increased Resale Value: A clean engine bay can make a significant difference in the resale value of your car. It shows that you have taken good care of the vehicle.
- Professional Appearance: For those who take pride in their car’s appearance, a clean engine bay presents a polished and professional look.
- Simplified Maintenance: When your engine bay is clean, routine checks and maintenance procedures become easier to perform. This can save you time and trouble.
Incorporating ‘how to clean engine bay’ into your regular maintenance routine reaps these rewards. It helps keep your car in top condition, minimizes unforeseen repairs, and ensures a smoother driving experience. Now that we understand the benefits, let’s look at what tools and materials you’ll need for a thorough cleaning.
Tools and Materials Needed for Engine Bay Cleaning
Before diving into the ‘how to clean engine bay’ process, gather all necessary tools and materials. You’ll need the right equipment to ensure a safe and effective clean. Here’s a list to help you prepare:
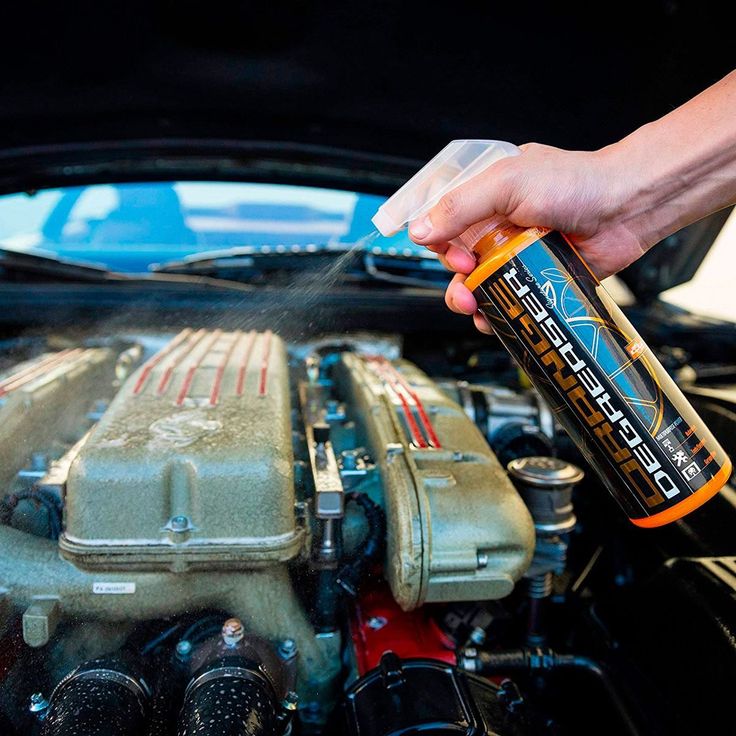
- Degreaser: A good quality degreaser will break down oil and grease.
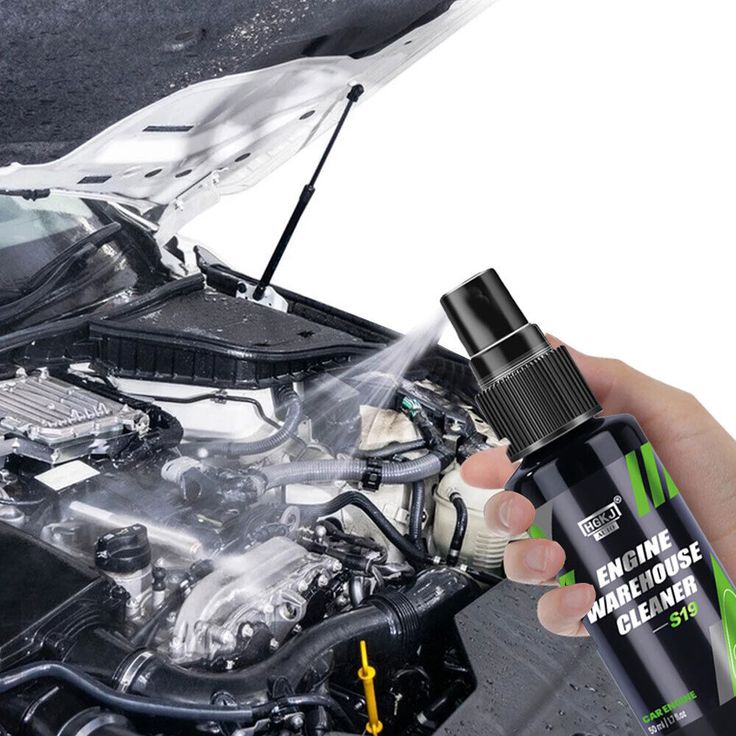
- Engine Cleaner: Pick a cleaner made especially for engine bays.
- Brushes: Have a variety of sizes to reach nooks and crannies.
- Microfiber Cloths: These will help to wipe surfaces without scratching.
- Plastic Bags: Use these to cover electrical components and prevent water damage.
- Water Source: A hose or pressure washer for rinsing away grime.
- Compressed Air: This is useful for drying hard-to-reach areas.
- Gloves: Protect your hands from chemicals and dirt.
- Goggles: Keep your eyes safe from splashing debris.
With this list, you’re ready to start the engine bay cleaning process. Ensure all materials are on hand to avoid interruptions once you begin. Next, we’ll discuss how to get your engine bay ready for a thorough clean.

Pre-Cleaning Preparation
Before you start spraying and scrubbing, it’s important to prep your engine bay. Pre-cleaning prep ensures that the cleaning process is both safe and effective. Here is what you should do:
Cool Down the Engine
- It is crucial to allow your engine to cool down completely before starting the cleaning process.
- Cleaning a hot engine can not only cause potential burns or injuries but can also damage certain components.
- A general rule of thumb is to wait at least 30 minutes after driving before beginning the cleaning process. This time allows the engine and surrounding areas to return to a safe temperature.
- Always prioritize your safety and ensure that you’re working on a cool surface to avoid mishaps.
Remove Loose Debris
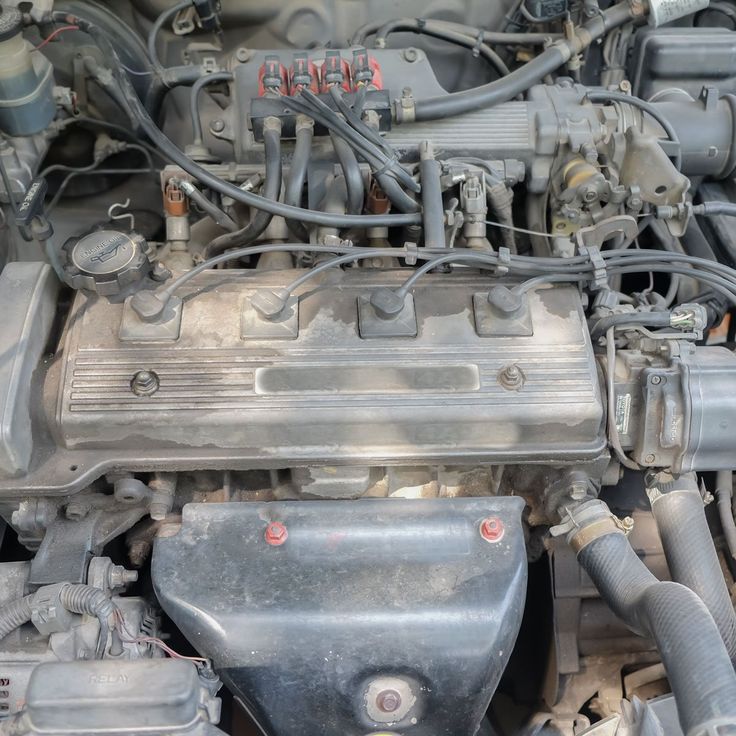
- Start your engine cleaning by removing any loose debris present in the engine bay.
- Carefully extract items such as leaves, twigs, and dirt by hand. Be thorough, as this step prevents debris from mixing with cleaning solutions during the proceeding steps.
- Use a handheld vacuum or a soft broom for a more effective clean if necessary, especially for hard-to-reach areas.
- Clearing out this debris not only prepares your engine bay for cleaning but can also help identify any potential issues that may have been obscured.
Cover Electrical Components
- Protecting the electrical components is essential during engine bay cleaning.
- Use plastic bags or cling wrap to cover exposed wires, distributors, and electronic modules to prevent moisture or cleaning products from damaging them.
- Ensure the coverings are secure; any water or cleaning agents can lead to electrical failures or short circuits if they reach sensitive areas.
- Taking the time to cover these components minimizes the risk of unintended damage during the cleaning process.
Disconnect Battery
- If feasible, disconnecting the battery before cleaning the engine bay can enhance safety.
- Removing the battery prevents any potential electrical issues from arising, especially when using water or cleaning products that may conduct electricity.
- Use a wrench to carefully disconnect the negative terminal first, followed by the positive terminal. This approach minimizes the risk of accidental short circuits.
- Always ensure that the keys are removed from the ignition while disconnecting the battery for an additional layer of safety.
Check Seals and Caps
- Before starting your cleaning routine, inspect all fluid caps and seals in the engine bay.
- Ensure that all caps, such as oil, coolant, and brake fluid, are tight to prevent leaks or contamination.
- Examine seals around components to ensure they are intact and functioning properly, as damaged seals can allow water or debris to enter sensitive areas.
- Addressing these details before cleaning helps maintain the proper function of your engine and prevents any fluid spills during the process.
Choose a Shaded Area
- Selecting the right environment for cleaning is essential to obtaining optimal results.
- Whenever possible, work in a shaded area or on a cloudy day to prevent the sun from directly heating the engine and drying cleaning products too quickly.
- Rapid drying can result in streaks or water spots, detracting from the overall appearance of the engine bay.
- If a shaded spot is unavailable, consider using a tarp or canopy to create some shade during the cleaning process. This step ensures that your cleaner has adequate time to work effectively without premature evaporation.
Doing these steps will help protect your engine. It will make it easier to focus on how to clean engine bay components without worry. With everything in place, you can start the actual cleaning steps confidently.
Step-by-Step Cleaning Process
Following the pre-cleaning preparation, it’s time to dive into the actual cleaning. Here’s a step-by-step guide to help you clean your engine bay effectively:
- Apply Degreaser: Start by spraying a quality degreaser on the engine. Target oily and greasy areas, but avoid electrical parts.
- Let Sit: Allow the degreaser to work its magic for a few minutes. It breaks down grimy deposits.
- Scrub Away Dirt: Use brushes to scrub the engine components. Reach into tight spaces to loosen dirt.
- Rinse Thoroughly: Gently rinse the engine bay with a hose or low-pressure water. Do not let water pool.
- Apply Engine Cleaner: If needed, use a dedicated engine cleaner for stubborn areas.
- Final Rinse: Give your engine one last rinse to wash away any remaining cleaner or grime.
- Wipe Off Excess Water: Use microfiber cloths to dry off surfaces. They absorb water without scratching.
- Touch Up with Compressed Air: For hard-to-reach spots, blow away any trapped water with compressed air.
- Reinspect: Look over the engine bay. If there are still dirty areas, you may need to repeat some steps.
By following these steps with care, your engine bay will look clean and well-maintained. Remember to always prioritize safety while cleaning. Avoid harsh chemicals and high-pressure water that could damage components. With diligent effort, you’ll master how to clean engine bay with ease.
Drying and Detailing After Cleaning
After you’ve rinsed your engine bay, it’s crucial to properly dry and detail it. Follow these steps for the best results:
- Dry Surfaces Thoroughly: Use microfiber cloths to absorb water carefully. Do not leave any wet spots.
- Use Compressed Air: Blow away water from tight areas. Avoid trapped moisture that can lead to corrosion.
- Inspect Seals and Caps: Ensure that all fluid caps are secure and seals are dry. This prevents future leaks.
- Reconnect Battery: If you disconnected the battery, now is the time to reconnect it.
- Apply Protectant: Use a quality protectant on plastic and rubber parts. This helps to keep them from drying out or cracking.
- Polish Metal Parts: Gently polish any metal surfaces. Use appropriate products to achieve a shine without causing damage.
- Check Your Work: Look over the engine bay once more. Make sure all areas are clean, dry, and protected.
- Start the Engine: Let the engine run for a few minutes. This helps in assessing if everything is in order.
Detailing your engine bay is not just about drying. It involves protecting and preserving the components. By doing so, you keep your engine bay looking good and functioning well. Keep in mind how to clean engine bay safely and effectively throughout the process.
Tips for Maintaining a Clean Engine Bay
Maintaining a clean engine bay requires consistent effort. Follow these tips to help keep it looking pristine:
- Regularly Check for Debris: Frequently remove leaves, twigs, and dirt that can accumulate in the engine bay.
- Spot Clean Spills: Act quickly to clean up any spills. Oil and other fluids can attract dirt and are harder to clean if left to dry.
- Use the Right Products: Always opt for cleaners and protectants meant for engine bays. They are safer and more effective.
- Cover When Possible: If you plan to work on your car or park in a dirty area, consider covering the engine bay to prevent grime from settling.
- Schedule Regular Deep Cleans: Set a routine for deeper cleaning, perhaps every few months, depending on use.
- Check for Leaks: Keep an eye out for oil, coolant, or other fluid leaks. Address them quickly to prevent dirt buildup and potential damage.
- Protect Electrical Components: Ensure all electrical parts are properly covered and sealed, even when not cleaning, to prevent corrosion.
- Avoid Pressure Washing: High-pressure water can force grime deeper into components and cause damage. Use gentle water flow instead.
- Inspect After Service: After any service, check that everything is clean and in place. Mechanics may overlook cleaning up.
Apply these tips regularly and your engine bay will not only shine but also function better. Remember how to clean engine bay methods to keep every component in top form.
Common Mistakes to Avoid in Engine Bay Cleaning
When learning how to clean engine bay areas, people often make mistakes. Some errors can lead to damage or reduce the effectiveness of your clean. Here’s a list of common mistakes you should avoid:
- Ignoring Manufacturer’s Instructions: Always check the car’s manual. It might have specific cleaning guidelines.
- Using Harsh Chemicals: Strong cleaners can harm engine components. Choose gentle, automotive-approved products.
- Skipping Protection for Electrical Parts: Water and electronics don’t mix. Remember to cover them well.
- Washing a Hot Engine: This can cause injuries or engine damage. Wait for the engine to cool first.
- Applying Water Forcefully: High-pressure water can damage sensitive parts. Use a gentle stream instead.
- Not Rinsing Thoroughly: Leaving cleaner residue can attract more dirt. Rinse every area well.
- Rushing the Drying Process: Don’t leave moisture behind. Dry each part completely to avoid corrosion.
- Leaving Dirt in Nooks and Crannies: Dirt hidden in small spaces can cause issues. Clean them out with brushes.
- Forgetting to Recheck Fluid Caps and Seals: Ensure they’re all tight to prevent leaks after cleaning.
- Ignoring Regular Maintenance: Don’t clean only once. Regular checks and cleans are vital for a pristine engine bay.
By avoiding these mistakes, you’ll maintain a cleaner engine bay. It will also help in keeping your vehicle performing optimally. Keep these tips in mind, and you’ll master how to clean engine bay safely and efficiently.