Importance of Regular Oil Checks
How to check engine oil? Checking your engine oil regularly is crucial for several reasons. First, it ensures your engine runs smoothly. Oil lubricates the engine components, reducing friction and preventing damage. Without frequent checks, you might miss low oil levels or quality issues, which can lead to engine wear or failure.
Regular oil checks also help in maintaining your car’s performance. Clean oil contributes to better fuel efficiency. It keeps your engine clean and prevents build-up of sludge and debris.
Monitoring your oil level also signals potential leaks early. Catching leaks quickly can save on costly repairs down the road. It’s a simple preventive measure that can extend the life of your car.
Finally, knowing how to check engine oil can be empowering for any car owner. It’s a basic aspect of car maintenance that can keep your vehicle’s engine in top condition. Incorporate oil checks into your routine for a reliable, high-performing car.
Remember, neglecting this simple task can result in significant engine trouble and high repair costs. Stay proactive with regular oil checks and your car will thank you with a longer lifespan and better performance.
Necessary Tools for Checking Engine Oil
Before you start the process of checking your engine oil, it’s important to gather the right tools. This will make the task easier and ensure accuracy. Here are the essentials you’ll need:
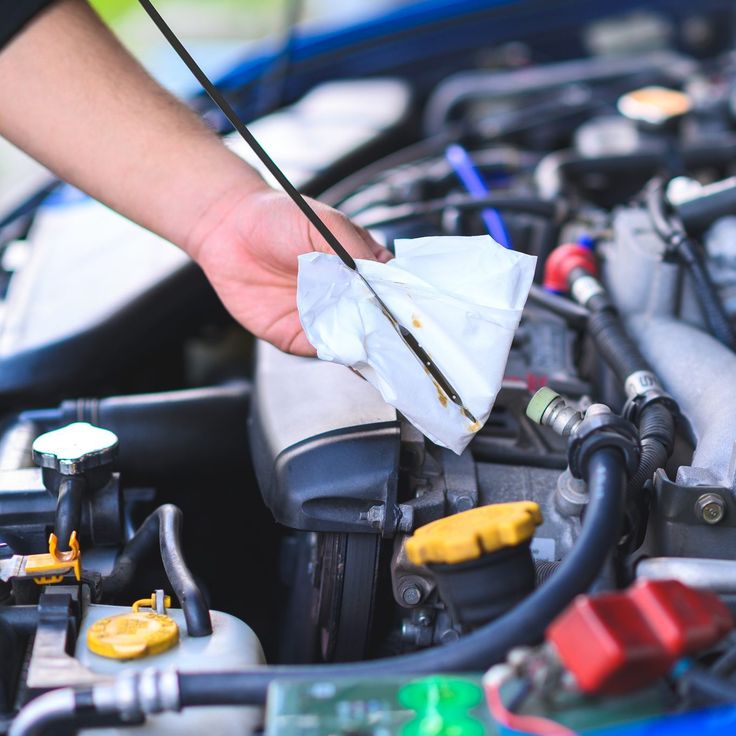
- Clean Cloth or Paper Towel: Use this to wipe the oil dipstick clean for an accurate reading.
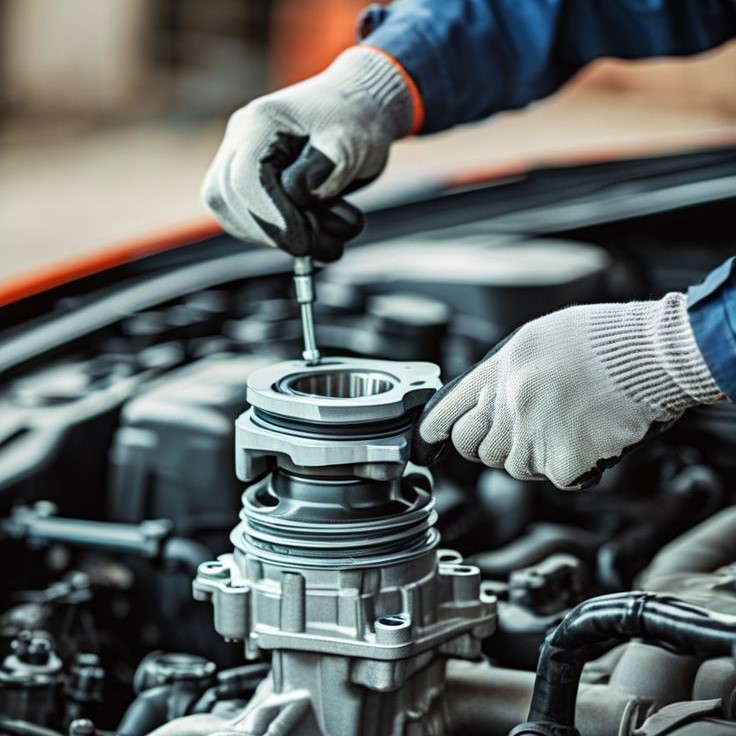
- Gloves (Optional): Gloves will keep your hands clean and protect them from the engine’s heat.
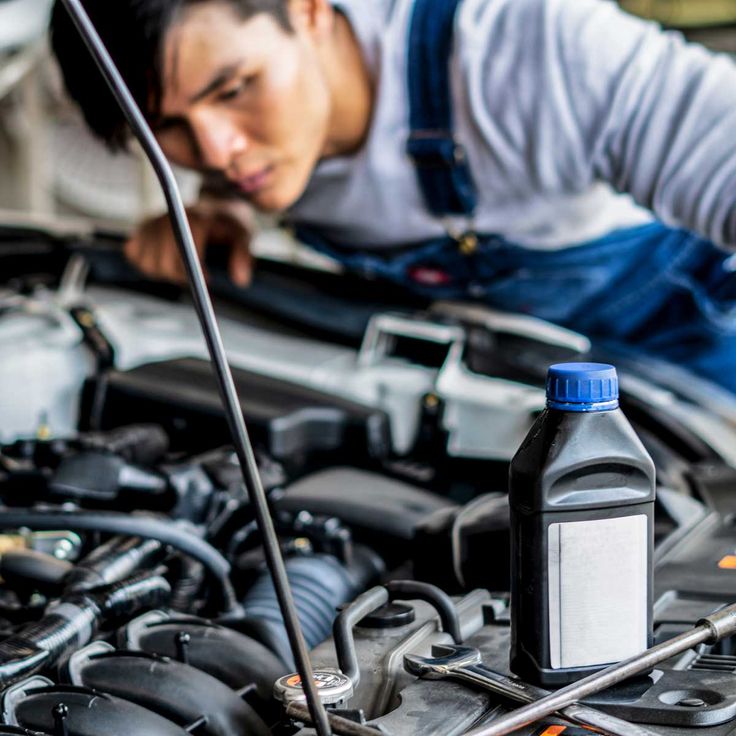
- Engine Oil: Keep a bottle of the correct oil type for your car on hand in case you need to top up.
- Funnel (Optional): A funnel is helpful for adding oil without spilling.
- Flashlight (Optional): This can help you see the dipstick and oil reservoir more clearly, especially in poor lighting.
Assemble these items beforehand to be well-prepared. With these tools ready, you will be able to efficiently check your engine oil and take any necessary action promptly. Remember to check the oil when the engine is cool or has been off for a while to prevent burns and ensure a correct reading. Keep it simple, straightforward, and safe when checking your engine oil.
Preparing Your Vehicle for an Oil Check
Before you start checking your engine oil, it is important to prepare your vehicle properly. This preparation ensures safety and accuracy during the checking process. Here are the steps you should follow:
- Park on Level Ground: This ensures that when you check the oil, the reading will be accurate because the oil is evenly distributed in the oil pan.
- Turn Off the Engine: To avoid burns and allow the oil to settle, wait at least 10 minutes after turning off the engine. This waiting time is crucial for a proper oil level reading.
- Open the Hood: Release the hood latch inside your vehicle, then walk around to the front of your car to open the hood and secure it safely.
- Locate the Dipstick: Find the oil dipstick handle which is usually bright in color. It often has a loop or T-shape to it for easy pulling.
- Gather Your Tools: Recall the necessary tools listed earlier, such as a clean cloth, gloves, and new engine oil, and have them ready at hand.
By following these steps to prepare your vehicle, you’re laying the foundation for an accurate and safe engine oil check. Next, we will look at how to identify the correct oil type for your car.
 Identifying the Correct Oil Type for Your Car
Selecting the right oil for your vehicle is critical for its performance and longevity. Using the wrong type can lead to engine damage over time. Here’s how to identify the proper engine oil for your car:
- Consult Your Owner’s Manual: Your go-to resource should be your car’s owner’s manual. It specifies the exact type and grade of oil recommended by the manufacturer.
- Check Oil Cap: Some cars have the oil type printed on the oil cap. It’s a quick way to confirm what you need.
- Look for Viscosity: Oil is rated by its viscosity. This rating, such as 5W-30, shows the oil’s thickness and how it flows at different temperatures.
- Consider Climate: Your local climate can affect oil performance. A different oil might be better in extreme cold or heat.
- Know Your Engine’s Needs: Older engines may require a different oil type than newer models. High-mileage oils are designed for engines with over 75,000 miles.
- Check for Special Additives: Some oils have additives for high-performance vehicles or engines that work under heavy loads. Ensure your choice matches your car’s demands.
Remember, the correct oil not only keeps your engine running smoothly but also contributes to fuel efficiency. Always double-check if you’re unsure and don’t hesitate to ask a professional for advice.
Checking the Oil Level: A Step-by-Step Process
Ensuring your engine oil level is correct is vital for your vehicle’s health. Here’s a straightforward process on how to check engine oil accurately:
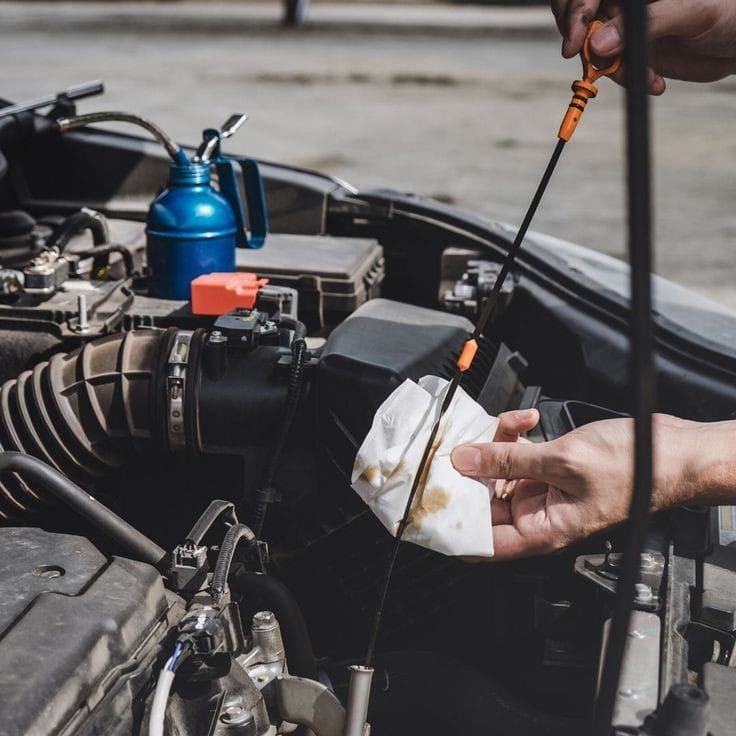
- Pull Out the Dipstick: Grab the handle and carefully remove the dipstick from its tube.
- Clean the Dipstick: Wipe the dipstick clean with your cloth or paper towel. This helps get a clear reading.
- Reinsert the Dipstick: Place the dipstick back into its tube. Ensure it’s fully seated.
- Remove Again for Reading: Pull the dipstick out once more to check the oil level. Look where the oil mark hits.
- Assess the Oil Level: Verify that the oil mark falls between the minimum and maximum indicator lines.
- Replace the Dipstick: After checking, put the dipstick back into place securely.
It’s best to conduct this test when the engine is cool, either before you start it in the morning or after it’s been off for a while. Regular oil level checks are an essential part of maintaining your car’s performance and longevity. By following these steps diligently, you can prevent engine damage and avoid costly repairs.

Understanding the Oil Dipstick Indicators
After pulling out the dipstick during an oil check, you will see oil-coated indicators. These indicators are crucial for assessing the oil level correctly. Make sure you understand what they mean for proper maintenance.
- Maximum Fill Line: This top line marks the highest level the oil should reach.
- Minimum Fill Line: This indicates the lowest acceptable oil level for safe engine operation.
- Crosshatched Area: The textured area between the two lines where the oil level should ideally fall.
- Oil Color: The oil should be amber to light brown, not black or gritty. Dirty oil needs changing.
- Oil Consistency: If it’s too thin, contains particles, or is sticky, consult a mechanic.
- Smell: A burnt smell could indicate engine problems and requires professional attention.
By reading the dipstick correctly, you can detect low oil levels or poor oil quality. Always aim for the oil to be in the crosshatched area, showing optimal levels. If the oil is below the minimum or above the maximum line, take action. Add oil if low, but be careful not to overfill. If the oil seems dirty or smells burnt, consider getting it changed. Regular checks and understanding what you’re looking at will keep your engine in top shape.
Tips for Adding Oil if Necessary
After you know how to check engine oil and assess the oil level, you may find that you need to add oil. If the level is below the minimum mark on the dipstick, it’s time to top it up. Here are some tips to help you add oil correctly and safely:
- Buy the Right Oil: Ensure you have the correct type of oil, as specified in your owner’s manual.
- Wait for Engine Cool Down: Before you open the oil filler cap, make sure the engine is cool to prevent any burns.
- Remove the Oil Filler Cap: Twist it off carefully and set it aside where it won’t get dirty.
- Use a Funnel: Place a clean funnel in the oil filler hole to avoid spills.
- Add Oil Gradually: Pour in a little oil at a time, giving it a moment to settle.
- Check the Level Often: Use the dipstick to check the level frequently, so you don’t overfill.
- Replace the Cap Securely: Once you’ve reached the desired level, remove the funnel and replace the oil filler cap.
- Clean Any Spills: Wipe away any spilled oil to keep your engine bay clean.
- Dispose of Old Oil Properly: If you’ve changed your oil, be sure to recycle the old oil according to local regulations.
Adding oil is a simple process, but it’s important to do it carefully to avoid causing damage to your vehicle. By following these tips, you ensure that your car is maintained and running smoothly.
Common Mistakes to Avoid When Checking Oil
To maintain your vehicle properly, it’s important to avoid common errors when checking your engine oil. Keep these points in mind to ensure an accurate reading and prevent damage to your engine:
Not Reading the Manual
- Understanding Your Vehicle: The owner’s manual contains crucial information specific to your car model, including recommended oil types, intervals for oil changes, and proper maintenance procedures.
- Avoiding Mistakes: Skipping the manual may lead to using incompatible oil types, which could harm the engine over time or result in poor performance.
- Learning Check Procedures: The manual outlines the correct procedures for checking oil levels and other essential maintenance tasks, ensuring you perform them correctly.
Ignoring Engine Temperature
- Accurate Measurements: Checking oil levels when the engine is hot can lead to inaccurate readings due to the expansion of the oil, making it appear higher than it actually is.
- Safety Concerns: Touching a hot engine can also be dangerous. Allowing it to cool reduces the risk of burns and ensures you handle the dipstick safely.
Not Using a Clean Dipstick
- Preventing Contamination: A dirty dipstick can provide misleading information about the oil level and condition by introducing dirt and debris into the oil.
- Clear Assessment: Cleaning the dipstick before checking allows for a more precise measurement, which is vital for maintaining the engine’s health.
Forgetting to Place the Dipstick Fully
- Correct Level Reading: Not inserting the dipstick all the way can result in readings that do not accurately reflect the oil level, leading to potential overfilling or underfilling.
- Avoiding Misinterpretation: Ensuring that the dipstick is fully inserted guarantees that you are obtaining a true representation of the oil level in the engine.
Adding Too Much Oil
- Engine Damage Risk: Overfilling the engine with oil can lead to excessive pressure and foaming, which may cause serious damage to engine components.
- Gradual Addition: To prevent overfilling, add oil in small increments and check the level frequently, ensuring you stay within the recommended range.
Overlooking Oil Quality
- Visual Inspection: It is important to not only check the oil level but also assess its color and consistency—dark, gritty, or milky oil can indicate contamination or deterioration.
- Timely Changes: Being attentive to the quality of the oil can help you determine when it’s time for an oil change, maintaining the engine’s performance and longevity.
Ignoring Leaks
- Identifying Issues: If you find yourself continually adding oil between changes, it may be a sign of a leak or other mechanical issues that require attention.
- Prompt Inspection: Addressing leaks early can prevent more extensive damage and expensive repairs down the road, ensuring your vehicle remains in good working order.
By being mindful of these common missteps, you can conduct a proper engine oil check. This is essential to ensure the health and longevity of your vehicle. Remember to integrate regular oil level monitoring into your car care routine and address any issues immediately.
When to Seek Professional Help
While knowing how to check engine oil is essential for regular car maintenance, certain situations require the expertise of a professional mechanic. Here are signs that it’s time to seek professional help:
- Persistent Low Oil Levels: If you’re topping off your oil frequently, this might indicate a leak or high consumption.
- Oil Leaks: If you notice oil stains under your car or on engine parts, it’s important to get it checked.
- Dirty or Gritty Oil: Oil that looks dirty, gritty, or has particles in it even after a recent oil change needs a professional look.
- Warning Lights: Any oil-related warning lights on your dashboard are a prompt to visit a mechanic.
- Smoke from Exhaust: Unusual smoke from the exhaust, especially if it’s blue, can mean oil issues.
- Engine Noise: Knocking or ticking noises from the engine can indicate low oil levels or poor oil quality.
- Overheating Engine: An engine that’s often too hot may be suffering from oil-related problems.
- Burnt Smell: A burnt oil smell inside the car is a red flag that requires immediate attention.
If you encounter these issues, don’t delay in consulting a professional to avoid serious damage to your car. Regular checks are the key to catching problems early on, but when in doubt, always turn to a mechanic who knows how to check engine oil and can provide an expert service.